
For trial customers and customers on the Metrics & Analytics plan, in order to use the Analytics tools, Google Analytics integration with SaaS Insights must be setup.
This guide walks through setting up Google Analytics and your Shopify App to collect data on visitors to your Shopify App’s store listing.
Jump To
Google Analytics
If you already have a Google Analytics account, property and / or data stream you will be able to skip some steps. We’ll list all steps for completeness.
1. Create / Log In To Your Google Analytics Account
Go to analytics.google.com and log in with your Google account.
2. Go to Admin panel
Press the cog icon in the bottom left corner to go to the Admin panel.

3. Create account
If you are creating a new account from scratch, you can ignore this setup.
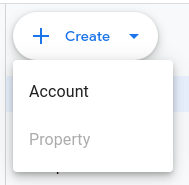
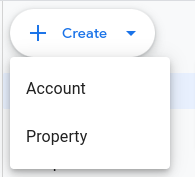
Otherwise, click the Create button then select Account.
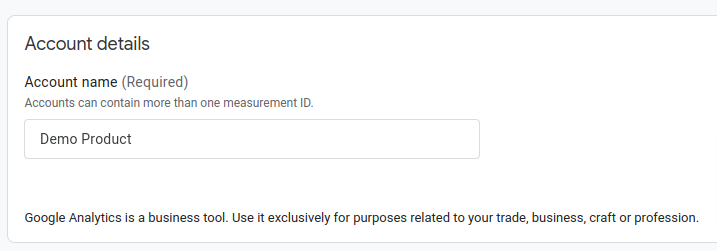
4. Enter Account Name
Enter a name for your account. Then click Next.
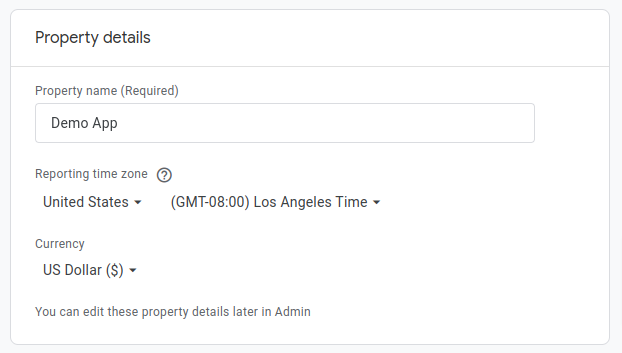
5. Enter Property Name
Enter a name for the property. Then select the appropriate timezone and currency. Then click Next.
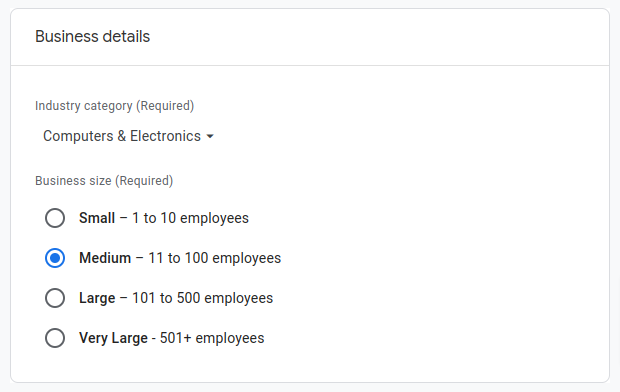
6. Business details
Enter in your business category and size. Then click Next.
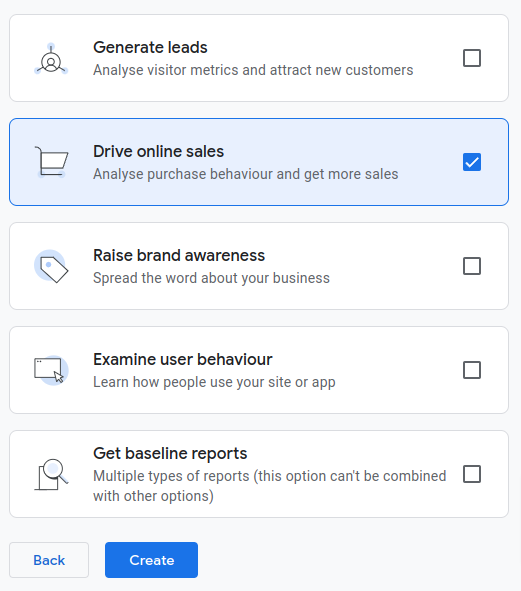
7. Business objectives
Choose the relevant business objectives. Then click Create.
8. Google Analytics Terms of Service Agreement
Choose the terms for you location. When ready, accept and press the I Accept button.
9. Collecting Data
We now want to add a data stream where data from Shopify for an application will be stored.
Choose the Web platform.

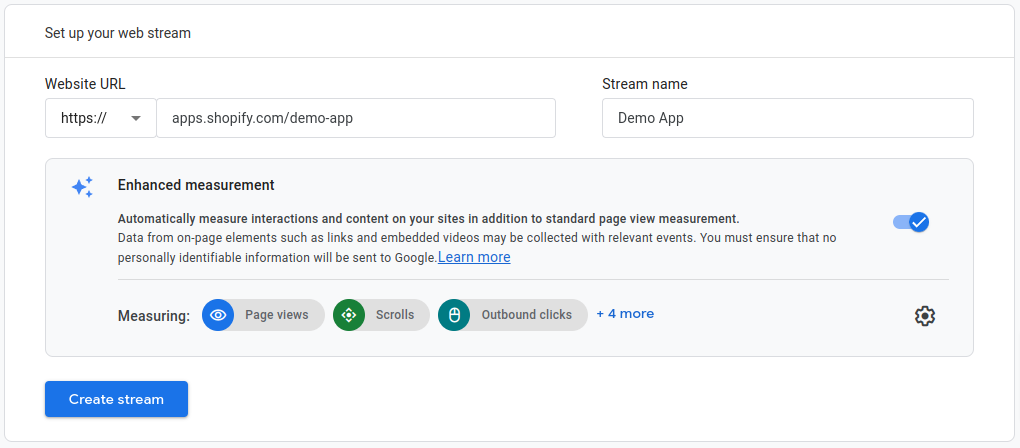
10. Create Web Stream
Enter in your Shopify apps URL and give it a name. Then click Create Stream.
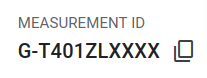
11. Measurement ID
Take note of the Measurement ID as that’s the value we need to supply to Shopify via the Partner portal.
12. API Secret
From that page we also need to get the API Secret. This can be created by clicking on Measurement Protocol API secret.

13. Create API Secret
You may first need to Review and accept the terms.
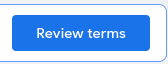
Then, click the Create button.
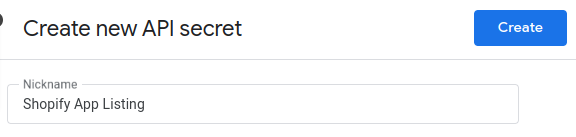
Then give the API Key a nickname like “Shopify App Listing”, then click Create.
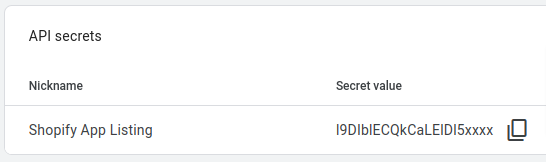
Now take note of the secret value (aka API Secret) as we’ll need it later.
14. Add Custom Definitions
We use custom definitions to provide you even more data like which store was accessing your application.
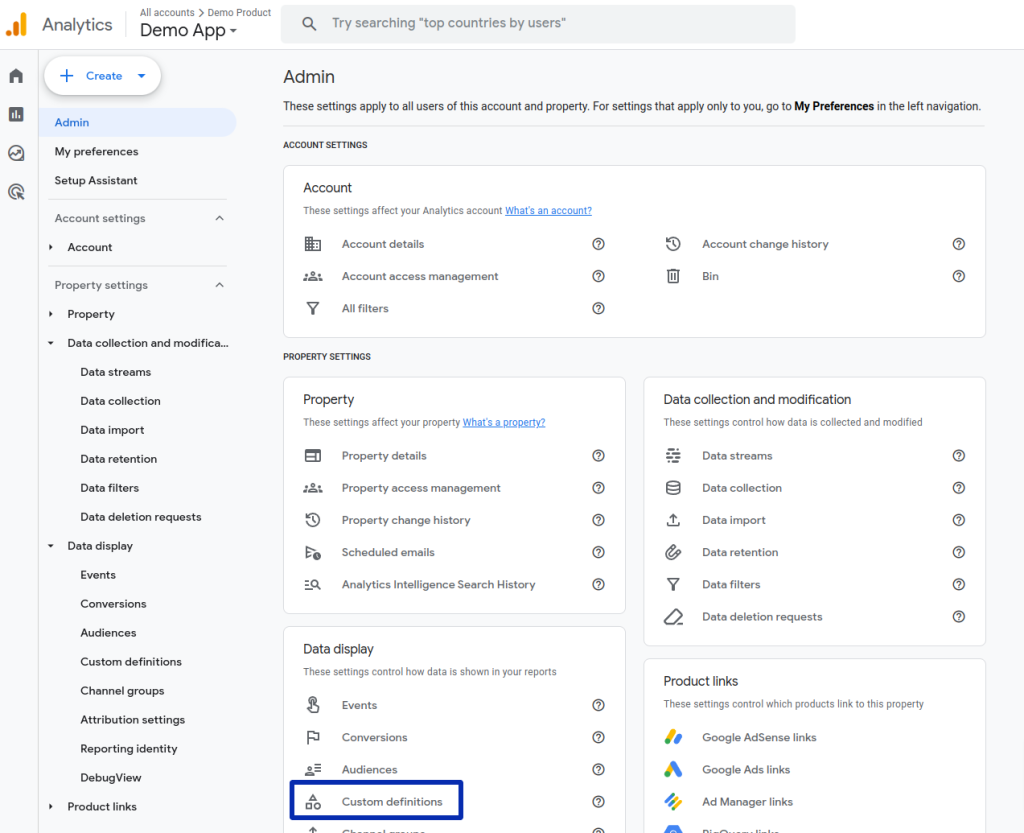
To do this, firstly click on the cog to go back to the the main admin page.

Then click Custom Definitions.
Now click Create custom dimension
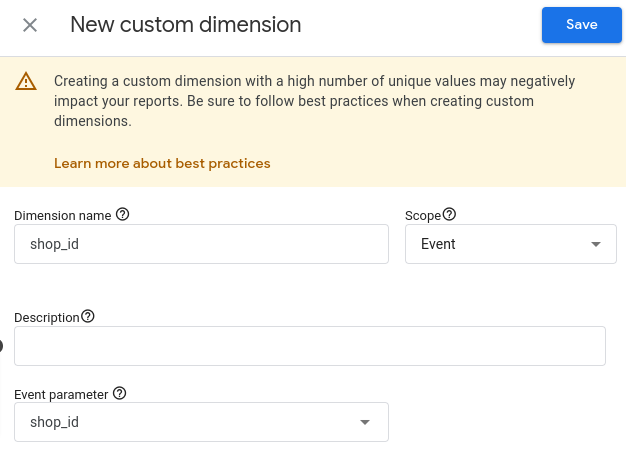
Enter “shop_id” into both Dimension name and Event parameter fields and then click Save.
We now want to create five more custom dimensions.
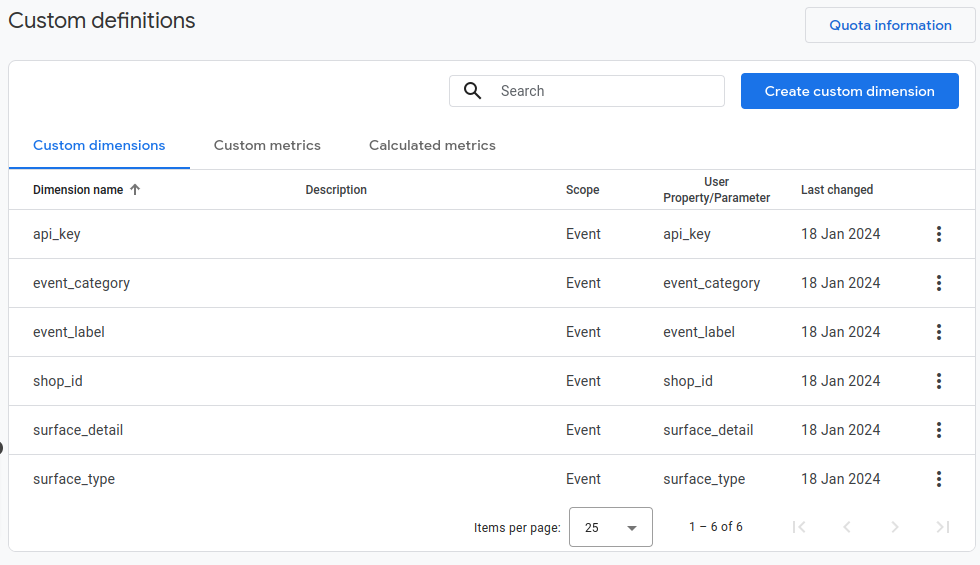
Repeat the above to create custom dimensions for the below values. Remember the below values must be in both the Dimensions Name and Event parameter fields.
- event_label
- event_category
- api_key
- surface_type
- surface_detail
For more information about these custom dimensions, see Shopify’s documentation.
You should now see all four Custom Definitions.
If you only have one Shopify App, then you can go to the Shopify Partner Portal steps.
15. Create Measurement IDs, API Secrets and set Custom Definitions for additional apps
Click Next and go to your Accounts Admin page.
We recommend an individual Property be created for each Shopify app.
Click Create and select Property.
Then follow the steps as above.
16. Bonus Tip – Finding Measurement ID and API Secret After Property Created
Sometimes you want to go back and find your properties Measurement ID after some time after it’s created.
Ensure the desired account and property is selected in the top bar.
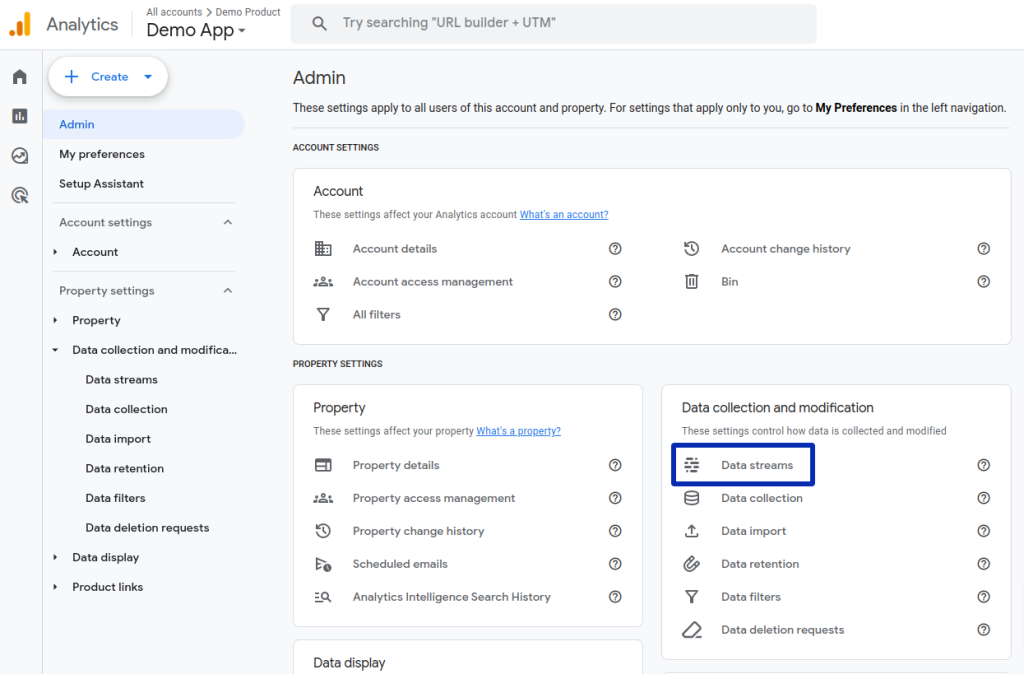
To do so, go to the admin Panel and click the cog button in the bottom left corner.

Then click Data Streams.
Select the the data stream

The Measurement ID will then be displayed.

For the API Secret click on Measurement Protocol API secrets and copy the Secret value (aka API Secret)

Shopify Partner Portal
We now want to provide the Google Analytics data stream Measurement ID for each app to Shopify.
1. Log into the Shopify Portal
Log in via partners.shopify.com.
2. Open your app
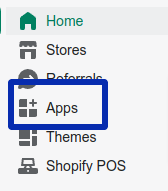
Choose Apps from the left menu.
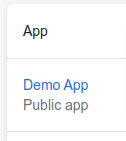
Then choose your app.
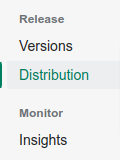
Then click the Distribution in the left menu.
Then click the Manage Listing button
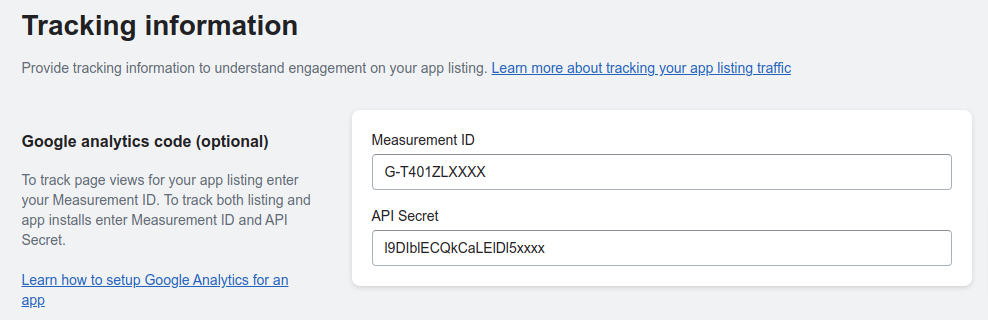
3. Enter Google Analytics Information
Then scroll down to the Tracking Information section and enter your Measurement ID and API Secret into the corresponding fields. Then scroll down and click Save & Publish.
Setup SaaS Insights
Once the above tasks have been completed we’re ready to setup our integration with SaaS Insights.
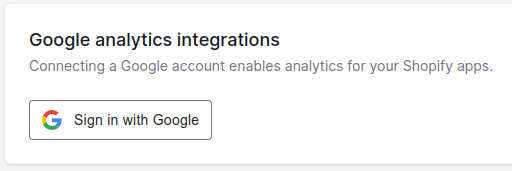
1. Sign into Google
Go to your SaaS Insights Google Analytics settings page.
Click the Sign In with Google button and select the account you used above to create your Google Analytics account.
2. Approve Access to SaaS Insights
Be sure that “See and download your Google Analytics data” is checked and then click the Continue button.
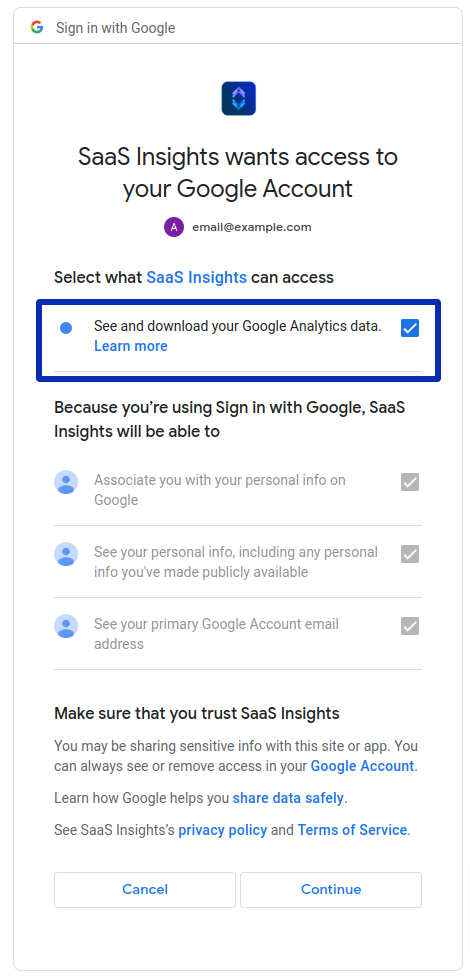
By clicking approve you’re granting us permission to access your Google Analytics data. We’re only requesting the data we need to be able to deliver the service. Nothing more!
3. Setup Google Analytics Linked To Your App
If you only have one Google Analytics account and property setup, we’ll automatically set it up.

If you have more we’ll need to set them up individually.
You’ll need to setup individually if you see “Not yet configured” fields.
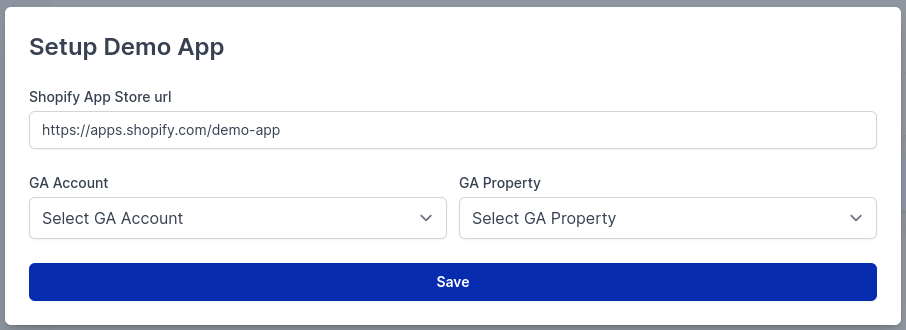
Choose the GA Account and GA Property which match the Shopify App Store URL. Then click Save.
Repeat until all apps are setup.
Once all are setup, you can now click on Analytics in the top bar and view your apps analytics data.